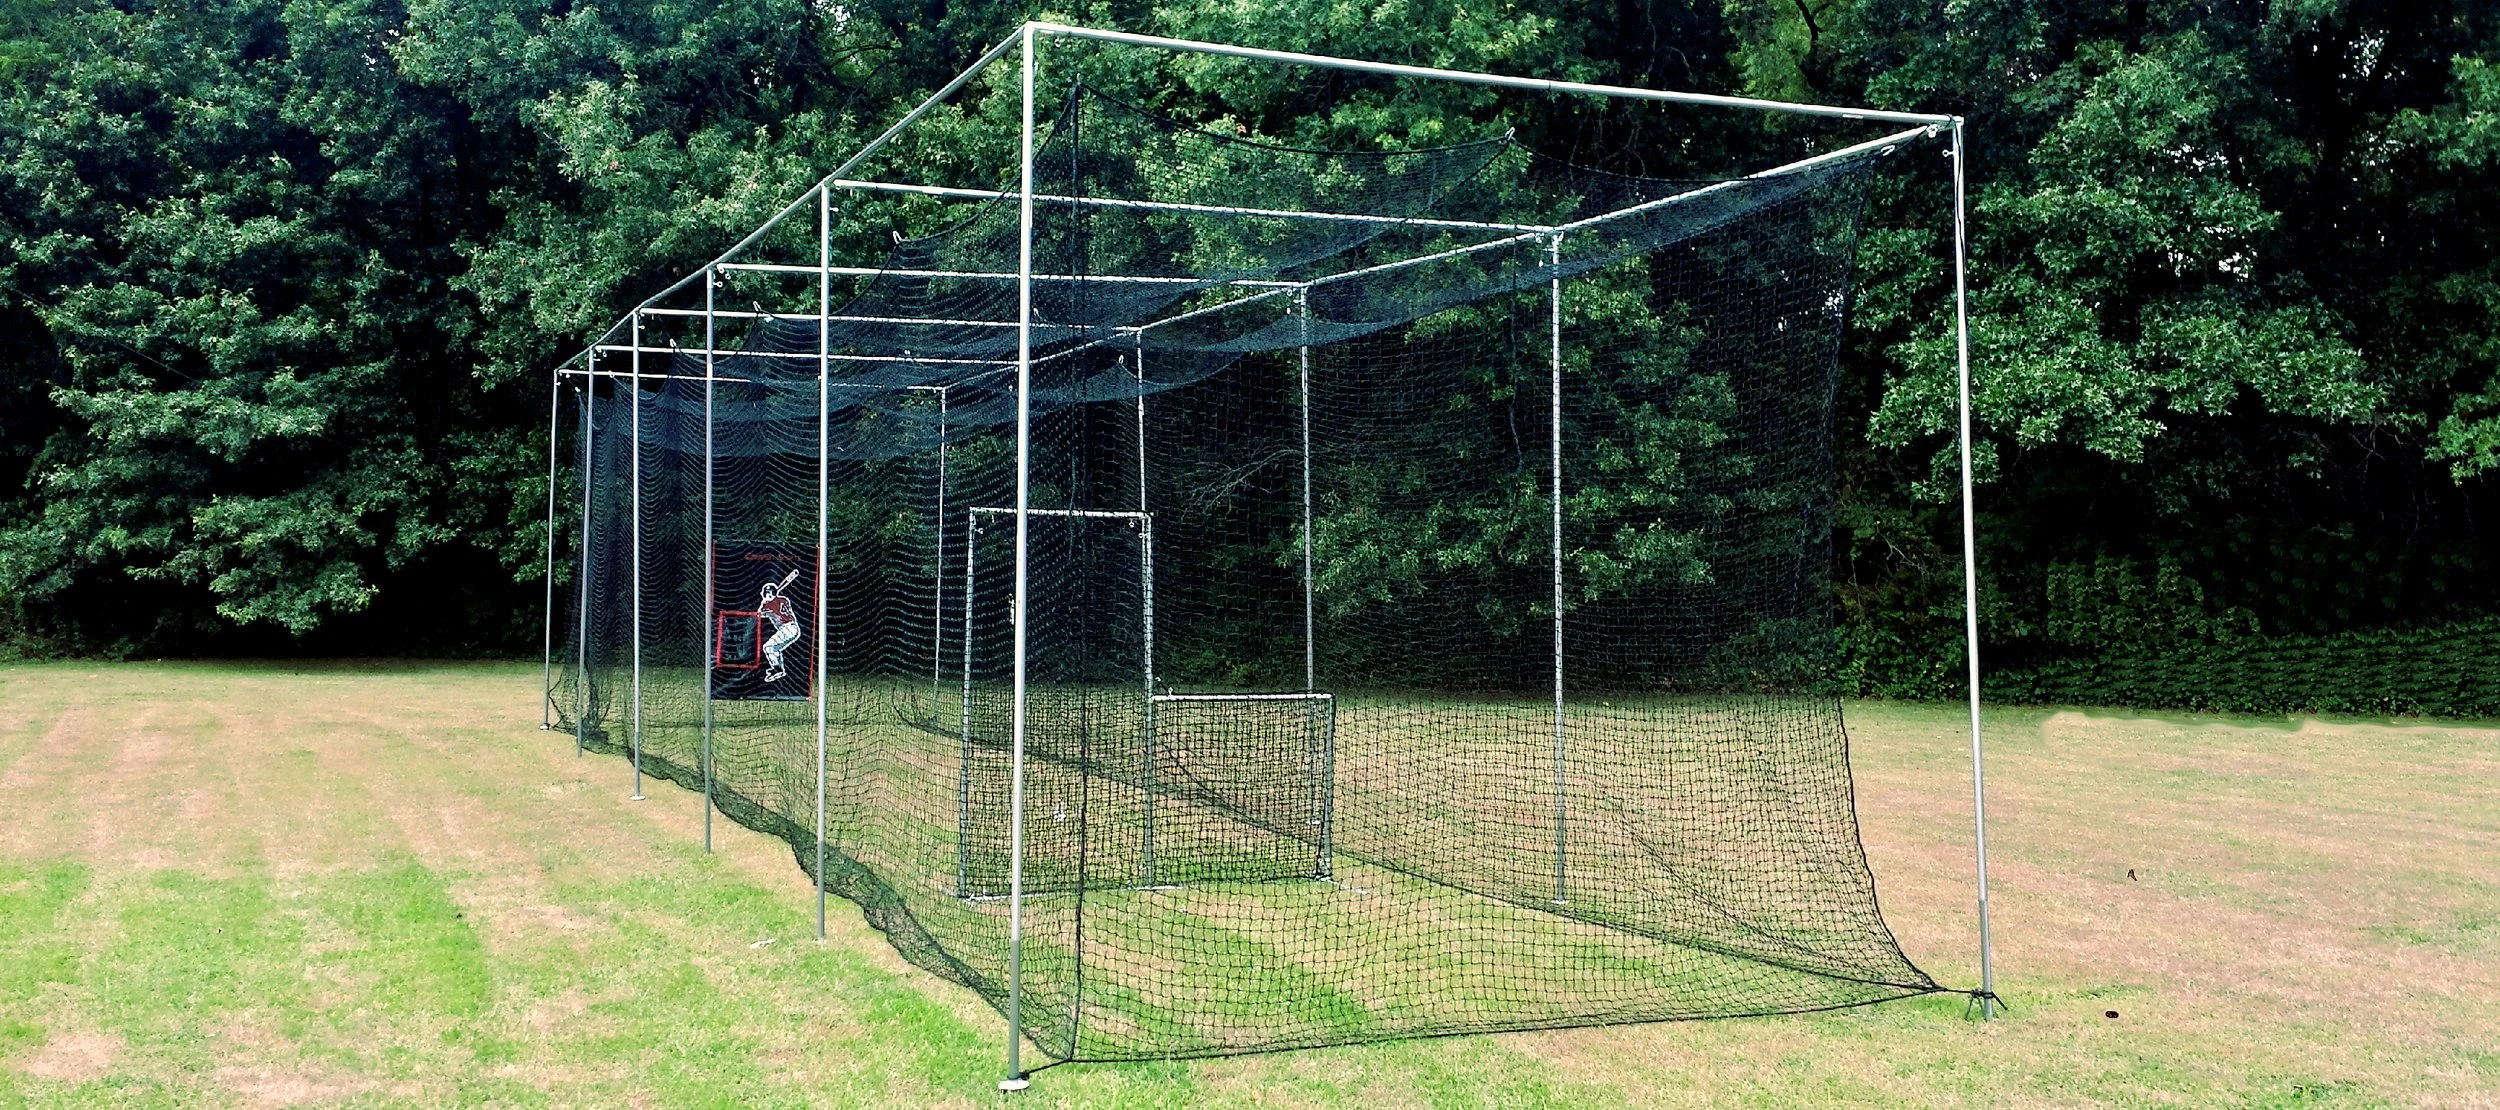
EZ UP DOWN Batting Cage Frame Kit Installation
12ft x 12ft x 70ft Batting Cage


You will need an area about 71' Long & 13' Wide. We recommend that you mark off this area before starting.
1.) Center to center, your 4 corner ground sockets will be 71' x 13'. Lay this out with stakes, string, and a tape measure. Measure across both diagonals to make sure they measure the same so that everything is square. The diagonal should be about 72’-2”
12ft x 12ft x 70ft Batting Cage Frame Ground Measurements
2.) Use the Auger bit to drill the 4 corner holes. Don't push down to hard on the bit or it will screw into the ground. Let it dig. It works very well. Let it drill down a bit then back it out allowing the bit to clear the hole of excess dirt. Repeat until the hole is deep enough. You will have a 12" deep hole in a minute or two. If you run into rocks or roots you can also use a 6' long bar to make the pilot holes.
drill batting cage frame corner holes
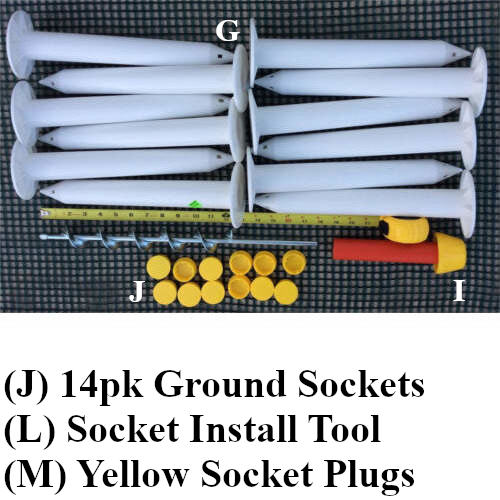
3.) Take one of the short net hangers and wrap it around each ground socket and back through itself. Install the corner Ground Sockets using the installation tool and a rubber mallet. The top of the Ground Socket should be flush with the ground.
install corner ground sockets
4.) Now use the Auger Bit and the same process to Install the side sockets, evenly spaced at 11' 10", 23' 8", 35' 6", 47' 4" & 59' 2".
install ground sockets
5.) Assemble (D) 30" pipes to 14 of the (CL) 10'-6" long poles by drilling a small hole, then inserting self-drilling screws (E). These will serve as your verticle poles.

batting cage frame vertical poles
6.) Install the 4 pcs of (A) 3-way fittings, and the 10 pcs (B) 4-way fittings onto the 30” side of the vertical poles you just assembled. One apiece. Make sure to loosen the eye-bolts on the fittings so that you won’t have to later.
batting cage frame kit fitting installation
7.) Put the 14 pcs (CL) top rail pipe from step 6 with the fittings side up into the (H) Ground Sockets
picture example is a 10ft x 12ft x 30ft Frame Kit - your frame will be larger
install batting cage frame vertical poles
8.) Assemble 30" pipes (C) to 6 of the 10' 6" length poles (CL) by drilling a small hole, then inserting self-drilling screws (E). These will serve as the center sections of the frame connecting the two long sides of the frame.

batting cage center sections
9.) Assemble 7 pcs. of the 10' 6" pipes (CL) together on the ground. The overall length of the 7 pipes assembled together will be about 72'. Cut approximately 1' off one of the pipes so that the overall length is only 71'. You will need to drill holes to attach these pipes together. Wait until you get them in the air before inserting the screws.
10.) Repeat step 9 for the other side.
11.) Using a ladder install the center sections from step 8 into the fittings. Once installed tighten the eye bolts in the center.
picture example is a 10ft x 12ft x 30ft Frame Kit - your frame will be larger
install batting cage frame center section
12.) Using a ladder, install the pipe you connect in steps 9 & 10 to the sides of the frame. Start at one end and work your way towards the other. The pipe will slide through the 4-way fittings and out the other side. Each time you connect two pipes together place a screw in the hole you previously drilled so that the pipe is secured to one another.
picture example is a 10ft x 12ft x 30ft Frame Kit - your frame will be larger
install batting cage frame long section
13.) Adjust the legs as necessary so that they are level. Screw down all the eye bolts to secure the frame together, and get ready to hang your net.
Installing Your Batting Cage Net
Batting Cage Netting Installation
1.) Lay your batting cage inside the frame. If your cage has a door now would be the time to find it and make sure it is on the end of the frame you want.
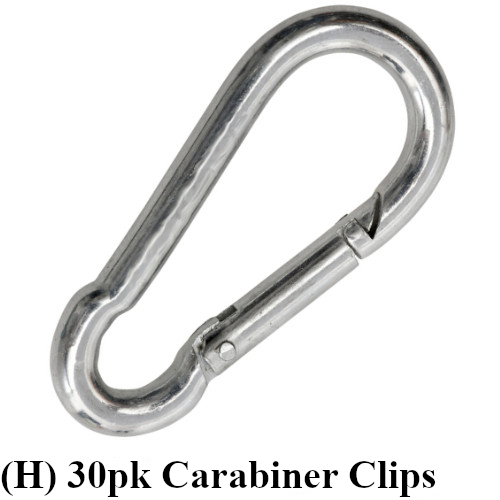
2.) Attach a carabiner clip to each of the pulleys, and layout each of the long net hangers so they are easy to access.
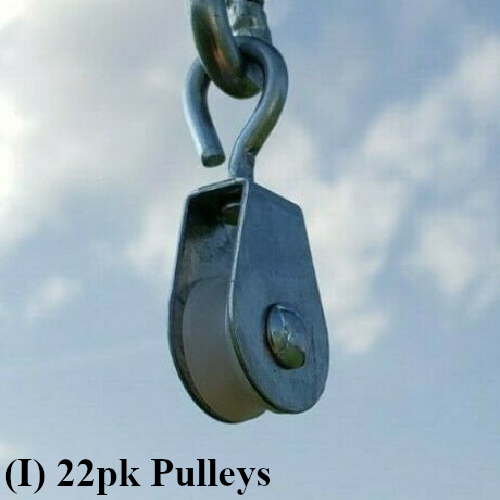
3.) Using a ladder attach a pulley with a carabiner to each of the center top eyebolts of the 4-way fittings. Now attach a pulley to the top outside eye bolt on each of the 3-way fittings. These are to hang the net from.
4.) Attach the remaining pulleys to the center lower eye bolt on the 3-way corner fittings. These are to lift the bottom of the net for easy mowing.
5.) Now start at a corner and with one of the long net hangers. Clip a carabiner clip to one end of the net hanger. Next, wrap the end with the carabiner clip around the top border of the net and clip it back onto itself.
6.) Run the other end of the net hanger through the top pulley and pull it down until you can attach it to the small net hanger that is attached to the ground socket.
7.) Now repeat step 6 for the remaining 3 corners.
8.) Using enough long net hangers to install one on each of the 4-way fittings, use the same method to attach a hanger to the top border rope of the net. Run the hanger through the top pulley and pull it down to attach to the hanger on the socket.
9.) Use the remaining long net hangers and attach them to the bottom border of the net in the 4 corners. Run the hanger up through the lower pulley and attach a carabiner clip to the end you just pulled through the pulley. This will stop the net hanger from pulling back through the pulley.
10.) Using the remaining short net hangers attach the center of the net to the center poles inside the frame.
11.) Now attach all the top rope, center rope, and bottom ropes of the net to their respective corners and centers. NOTE: Do Not Over Tighten. The net should be loose to allow for absorption of the ball impact.
12.) To raise up for easy mowing untie the bottom rope corners and simply pull the hangers attached to the bottom of the net down until you can attach them to the net hangers on the ground sockets.